SpringBoot中如何实现限流,这种方式才叫优雅!
很早以前,我曾写过两篇介绍如何在SpringBoot中使用Guava和Redis实现接口限流的文章。具体包括:
现在,一个问题摆在我们面前:如何将这两种限流机制整合到同一个组件中,以便用户随时切换呢?
显然,我们需要定义一个通用的限流组件,将其引入到业务中,并支持通过配置文件自由切换不同的限流机制。举例而言,当使用limit.type=redis时,启用Redis分布式限流组件,当使用limit.type=local时,启用Guava限流组件。这种自由切换机制能够为用户提供更大的灵活性和可维护性。
接下来,让我们开始动手实现吧!
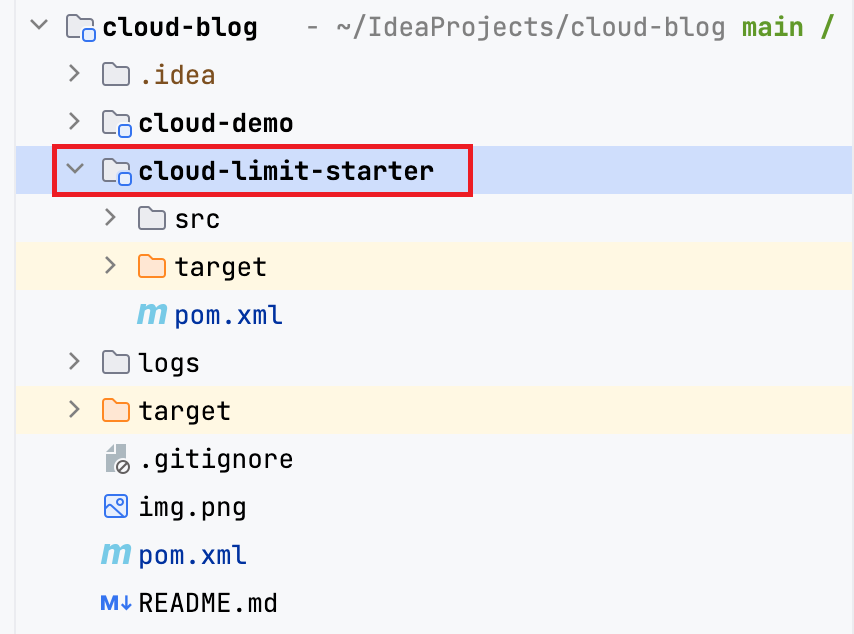
第一步,创建通用模块cloud-limiter-starter
首先在父项目下创建一个模块
然后在pom文件中引入相关依赖
<dependencies>
  <dependency>
    <groupId>com.google.guava</groupId>
    <artifactId>guava</artifactId>
  </dependency>
  <!--SpringFramework-->
  <dependency>
    <groupId>org.springframework.boot</groupId>
    <artifactId>spring-boot-starter-web</artifactId>
    <scope>provided</scope>
  </dependency>
  <dependency>
    <groupId>org.springframework.boot</groupId>
    <artifactId>spring-boot-starter-data-redis</artifactId>
    <scope>provided</scope>
  </dependency>
  <dependency>
    <groupId>org.projectlombok</groupId>
    <artifactId>lombok</artifactId>
    <scope>provided</scope>
  </dependency>
  <dependency>
    <groupId>org.springframework</groupId>
    <artifactId>spring-aspects</artifactId>
    <scope>provided</scope>
  </dependency>

</dependencies>
小提示:通用模块命名最好遵照规则以starter命名结束,同时通用模块引入的依赖最好设置
<scope>provided</scope>属性。
第二步,实现限流功能
- 创建限流接口
既然有两种限流机制,按照套路肯定得先创建一个限流接口,就叫LimiterManager吧。
public interface LimiterManager {
    boolean tryAccess(Limiter limiter);
}- 分别实现Redis的限流功能和Guava的限流功能,这里只给出核心代码。
Guava限流的核心实现GuavaLimiter
@Slf4j
public class GuavaLimiter implements LimiterManager{
    private final Map<String, RateLimiter> limiterMap = Maps.newConcurrentMap();

    @Override
    public boolean tryAccess(Limiter limiter) {
        RateLimiter rateLimiter = getRateLimiter(limiter);
        if (rateLimiter == null) {
            return false;
        }

        boolean access = rateLimiter.tryAcquire(1,100, TimeUnit.MILLISECONDS);

        log.info("{} access :{}",limiter.getKey() , access);

        return access;
    }
}
Redis限流的核心实现RedisLimiter
@Slf4j
public class RedisLimiter implements LimiterManager{

    private final StringRedisTemplate stringRedisTemplate;

    public RedisLimiter(StringRedisTemplate stringRedisTemplate) {
        this.stringRedisTemplate = stringRedisTemplate;
    }

    @Override
    public boolean tryAccess(Limiter limiter) {

        String key = limiter.getKey();
        if (StringUtils.isEmpty(key)) {
            throw new LimiterException( "redis limiter key cannot be null" );
        }

        List<String> keys = new ArrayList<>();
        keys.add( key );

        int seconds = limiter.getSeconds();
        int limitCount = limiter.getLimitNum();

        String luaScript = buildLuaScript();

        RedisScript<Long> redisScript = new DefaultRedisScript<>(luaScript, Long.class);

        Long count = stringRedisTemplate.execute( redisScript, keys, "" + limitCount, "" + seconds );

        log.info( "Access try count is {} for key={}", count, key );

        return count != null && count != 0;
    }
}
第三步,创建配置类
编写配置类根据配置文件注入限流实现类,当配置文件中属性 limit.type=local 时启用Guava限流机制,当limit.type=redis 时启用Redis限流机制。
@Configuration
public class LimiterConfigure {

    @Bean
    @ConditionalOnProperty(name = "limit.type",havingValue = "local")
    public LimiterManager guavaLimiter(){
        return new GuavaLimiter();
    }


    @Bean
    @ConditionalOnProperty(name = "limit.type",havingValue = "redis")
    public LimiterManager redisLimiter(StringRedisTemplate stringRedisTemplate){
        return new RedisLimiter(stringRedisTemplate);
    }
}
第四步,创建AOP
根据前面的两篇文章可知,避免限流功能污染业务逻辑的最好方式是借助Spring AOP,所以很显然还得需要创建一个AOP。
@Aspect
@EnableAspectJAutoProxy(proxyTargetClass = true) //使用CGLIB代理
@Conditional(LimitAspectCondition.class)
public class LimitAspect {

    @Setter(onMethod_ = @Autowired)
    private LimiterManager limiterManager;

    @Pointcut("@annotation(com.jianzh5.limit.aop.Limit)")
    private void check() {

    }

    @Before("check()")
    public void before(JoinPoint joinPoint){
        MethodSignature signature = (MethodSignature) joinPoint.getSignature();
        Method method = signature.getMethod();

        Limit limit = method.getAnnotation(Limit.class);
        if(limit != null){

            Limiter limiter = Limiter.builder().limitNum(limit.limitNum())
                    .seconds(limit.seconds())
                    .key(limit.key()).build();

            if(!limiterManager.tryAccess(limiter)){
                throw new LimiterException( "There are currently many people , please try again later!" );
            }
        }
    }
}注意到类上我加了一行@Conditional(LimitAspectCondition.class),使用了自定义条件选择器,意思是只有当配置类中出现了limit.type属性时才会加载这个AOP。
public class LimitAspectCondition implements Condition {
    @Override
    public boolean matches(ConditionContext conditionContext, AnnotatedTypeMetadata annotatedTypeMetadata) {
        //检查配置文件是否包含limit.type属性
        return conditionContext.getEnvironment().containsProperty(ConfigConstant.LIMIT_TYPE);
    }
}
第四步,创建spring.factories文件,引导SpringBoot加载配置类
## AutoConfiguration
org.springframework.boot.autoconfigure.EnableAutoConfiguration=\
  com.jianzh5.limit.config.LimiterConfigure,\
  com.jianzh5.limit.aop.LimitAspect
完整目录结构如下:
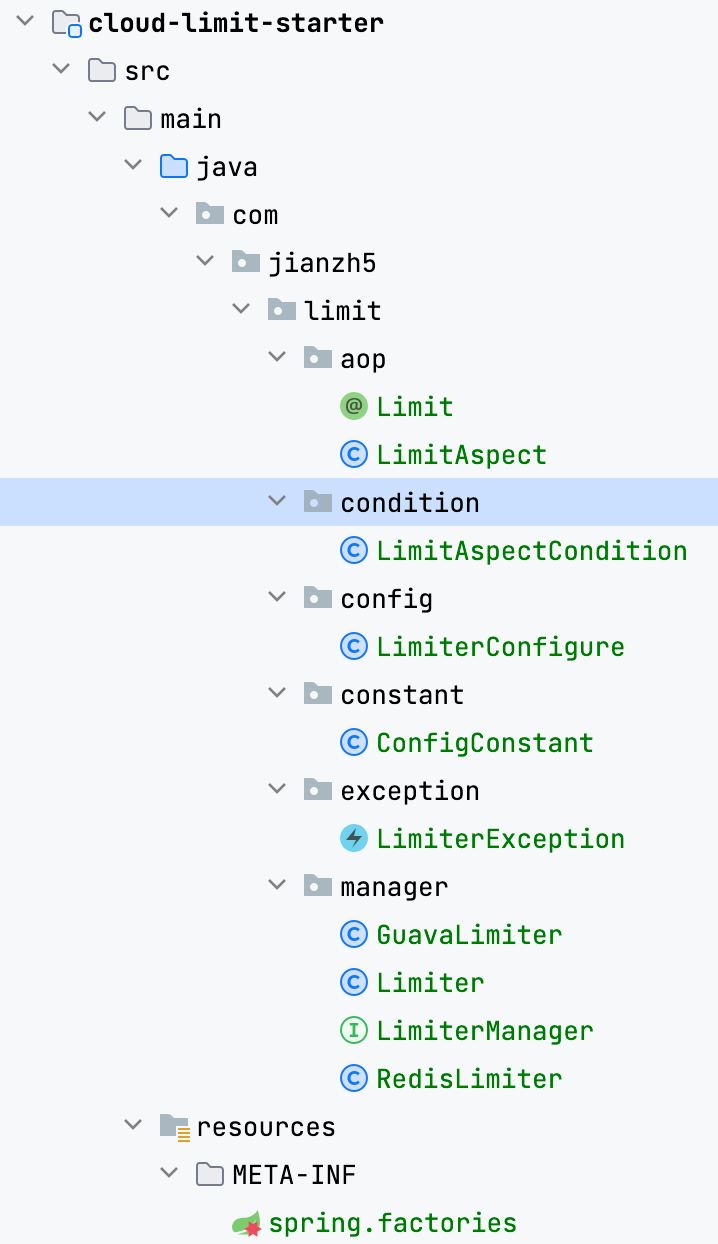
第五步,在项目中引用限流组件
- 引入依赖
<dependency>
    <groupId>com.jianzh5</groupId>
    <artifactId>cloud-limit-starter</artifactId>
</dependency>- 在application.properties中设置加载的限流组件
limit.type = redis如果不配置此属性则不加载对应限流功能。
- 在需要限流的接口上加上注解
@Limit(key = "Limiter:test",limitNum = 3,seconds = 1)小结
通过上述步骤,我们已经成功实现了一个通用限流组件。在实际应用中,只需要根据场景需求选择对应的限流机制,即可非常方便的进行限流操作。这种灵活性和便捷性,也是SpringBoot中定义Starter的一般套路。
如果你想详细了解这两种限流机制的原理,可以参考之前的文章中所介绍的内容。
老鸟系列源码已经上传至GitHub,如果需要获取源码地址,请在本公众号Java日知录中回复关键字 0923 即可。